Quick Steps to Install an All-In-One Solar Street Light
- Choose a location with full sunlight.
- Test the All-In-One Solar Street Light before installation.
- Assemble the light with its bracket.
- Mount the light onto the pole or wall.
- Secure the pole with concrete or fix the wall mount firmly.
- Turn on the unit and let it fully charge.
- Optimize placement and regularly clean the panel for best performance.

Introduction
Thinking of switching to solar lighting? You’re not alone. All-In-One Solar Street Lights are gaining popularity worldwide—and for good reason. They’re eco-friendly, cost-efficient, and incredibly easy to install compared to traditional lighting setups.
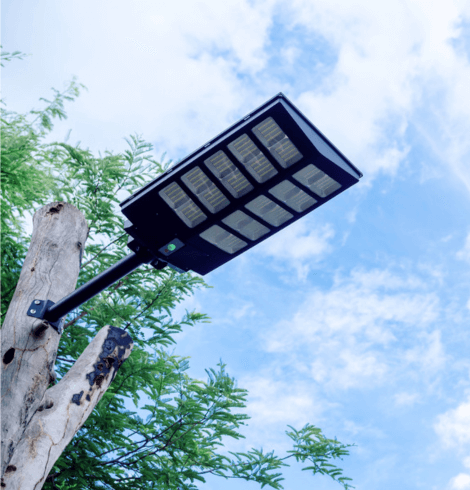
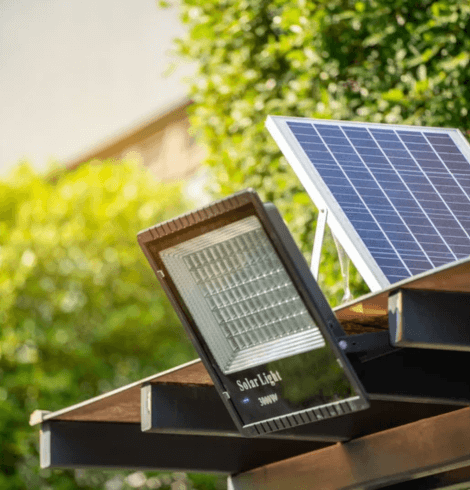
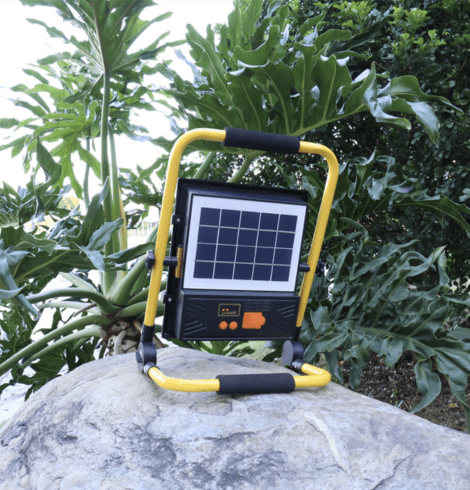
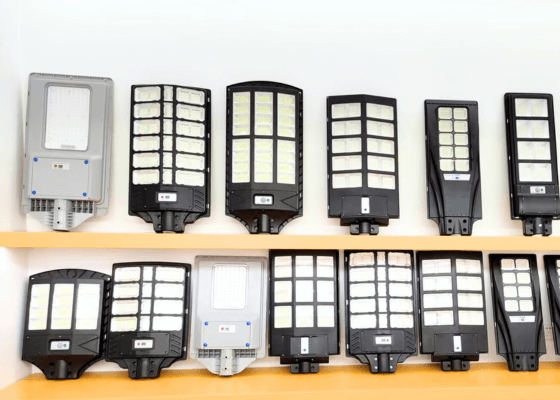
So, what exactly is an All-In-One Solar Street Light? It’s a compact lighting solution that integrates a solar panel, LED lamp, battery, and controller into a single unit. This design simplifies everything—from setup to maintenance.
Whether you’re lighting a driveway, pathway, yard, or parking lot, this guide is for you. We’ll walk you through every step—from planning to post-installation checks—so you can confidently install your All-In-One Solar Street Light and enjoy reliable, clean energy.
Let’s get started.
Before You Begin – Essential Planning & Safety
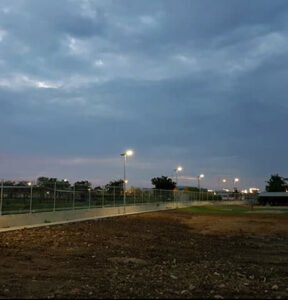
Choosing the right location is the first and most important step. An All-In-One Solar Street Light needs at least 6 to 8 hours of direct sunlight per day to function effectively, so you’ll want to avoid placing it under trees, near tall buildings, or anywhere shadows linger throughout the day. The placement also depends on your purpose—lighting a narrow path may require a lower height than illuminating a large parking area.
Safety is another essential factor. Before you dig any holes or raise a pole, check for nearby power lines and underground utilities. In most areas, you can call local services to mark utility lines. You should also look into your local regulations and obtain any required permits to stay compliant.
Once you’ve chosen the ideal spot, it’s time to prepare your tools. For a typical installation, you’ll need basic tools like a wrench set, screwdrivers, a drill with masonry bits, a ladder or lift, a level, and a measuring tape. Depending on your setup, you might also need a shovel or post-hole digger for ground-mounting, as well as safety gear like gloves and glasses. A voltage meter and wire strippers can be useful but usually aren’t necessary with modern integrated designs.
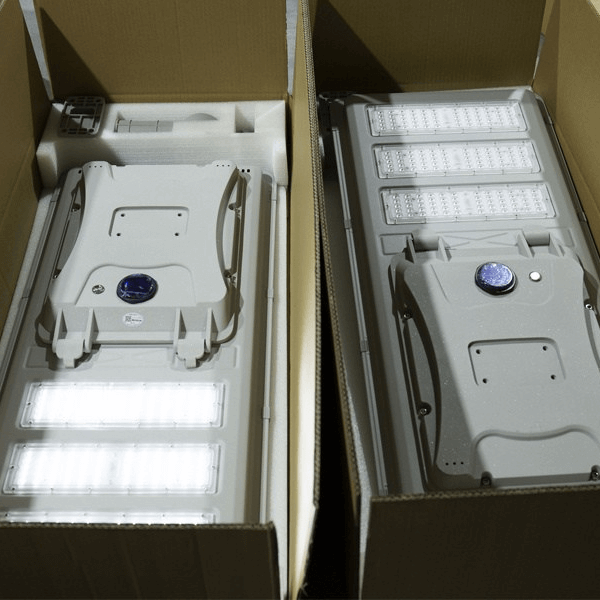
When your tools are ready, unbox your solar street light carefully. Inspect every component for any signs of shipping damage, and make sure you’ve received all the parts listed in the manual. Familiarize yourself with the mounting bracket, light head, and any pre-connected wiring or connectors before starting the installation.
Step-by-Step All In One Installation Guide
Step 1: Choose a Sunny Location
Start by selecting a spot that receives full, direct sunlight throughout the day. Since the solar panel relies on unobstructed exposure to sunlight to charge the battery, avoid any location shaded by trees, buildings, or other obstacles. This applies whether you’re using a pole-mounted or wall-mounted setup.
Step 2: Test the Light Before Installation
Before you go any further, it’s important to test the All-In-One Solar Street Light to make sure it’s working properly. Place the light face-down on a flat surface or cover the solar panel with a dark board to simulate nighttime conditions. If the light turns on, it’s functioning correctly. If not, double-check the connection wires and ensure the panel is fully covered to trigger the automatic lighting sensor.
Step 3: Assemble the Light with the Bracket
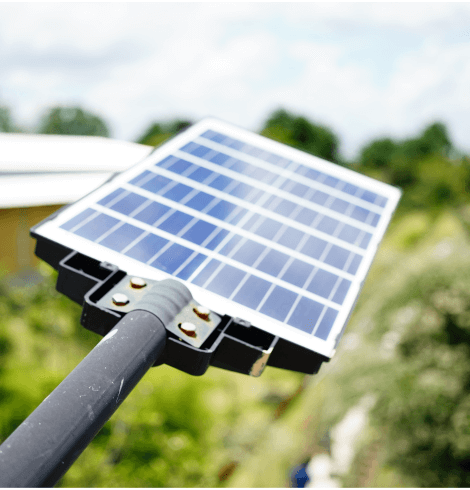
Next, attach the light fixture to its mounting bracket as instructed by the manufacturer. This step may be very simple or require minor tools depending on the design. Make sure the lamp head is facing downward and the solar panel is oriented upward, as this will be critical for proper charging and illumination.
Step 4: Mount the Fixture to a Pole or Wall
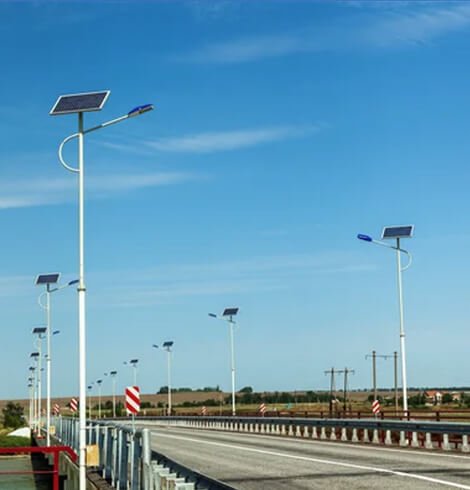
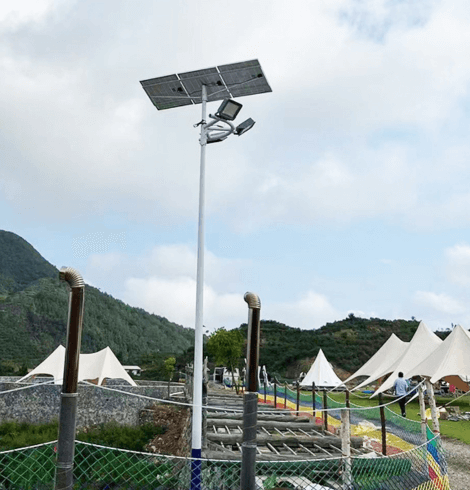
If you’re using a pole, slide or bolt the bracket onto the top of the pole and secure it tightly. Double-check the orientation to ensure the solar panel is still angled toward the sun (south-facing in the Northern Hemisphere, north-facing in the Southern Hemisphere).
For wall-mounting, identify a strong vertical surface such as a concrete wall or sturdy wooden beam. Use the bracket as a guide to mark your drill holes, then insert appropriate wall anchors and fasten the light securely to the surface.
Step 5: Fix the Pole and Secure the Installation
For pole installations, the final step is to secure the base. Insert the pole into a pre-dug hole and fill the hole with concrete or another stable material. Let it cure according to local climate conditions—usually 24 to 48 hours—to ensure the pole stays vertical and steady in wind or rain. For wall-mounted lights, make a final check to ensure all bolts are tightened and that the light is aligned correctly.
Once the unit is installed and stable, remove any battery tabs or turn on the power switch. The light should automatically operate at dusk and turn off at dawn. Give it a full day to charge, and check back the following evening to ensure it’s lighting up as expected.
As always, consult the manufacturer’s manual for specific model instructions. If you’re unsure about anything or the installation is complex, consider hiring a qualified technician to assist.
Optimizing Performance & Troubleshooting
Once installed, your All-In-One Solar Street Light will need a full day or two of charging before it operates at peak performance. Don’t be alarmed if it doesn’t reach full brightness the first night.
If the light doesn’t turn on, start with the basics: check that the switch is in the ON position, confirm that the battery is properly connected, and clean any dust or residue from the solar panel. On cloudy days or in the winter, charging may take longer.
If the light turns on but dims too quickly, it’s usually a sign of insufficient charging. This can happen if the panel is shaded, dirty, or if the battery is nearing the end of its lifespan. Flickering lights could point to a loose connection or a faulty LED module. Always consult the product manual for specific troubleshooting tips.
You can also read this article of full troubleshooting and methods to fix. 5 Common Reasons Solar Lights Stop Working (And How to Fix Them).
To maintain performance, clean the panel regularly using a soft, damp cloth. Trim any foliage that may grow into the panel’s path. And every six months or so, inspect the bolts and fasteners to ensure the fixture remains securely in place. After a few years of use, you may need to replace the battery—most last between three to five years depending on usage and climate.
Benefits of All-In-One Solar Street Lights
Choosing an All-In-One Solar Street Light offers far more than easy installation. For starters, there are no electric bills. Once installed, the sun does all the work, significantly cutting your long-term costs. It’s also an environmentally conscious choice—every watt comes from clean, renewable energy.
Installation is fast and straightforward. You won’t need to dig trenches or hire an electrician for complex wiring. These lights are ideal for remote or rural areas where grid access is limited, and they work just as well in urban settings where aesthetics and energy efficiency matter.
Built to withstand tough outdoor conditions, many models feature waterproof and rustproof construction, with durable housing that holds up in rain, wind, and even snow. And since everything is integrated into a single unit, maintenance is easier and less frequent.
By choosing solar, you’re not just lighting a space—you’re creating a self-sustaining, future-ready solution.
Conclusion
Installing an All-In-One Solar Street Light is one of the most accessible ways to harness the power of solar energy for your outdoor lighting needs. With the right preparation and tools, the process is fast, safe, and satisfying—even for beginners.
From reducing electricity costs to lowering your carbon footprint, the benefits go beyond illumination. So if you’ve been considering a switch to solar, there’s no better time to start than now.
Have you installed an All-In-One Solar Street Light? What tips would you share with first-timers? Leave your thoughts and experiences in the comments—we’d love to hear them.
FAQs
How long does it take to install an All-In-One Solar Street Light?
Most people can install a unit within 1 to 3 hours. If you’re installing multiple lights or working with tall poles, it may take longer. The process is much quicker than traditional lighting setups, especially since there’s no need for wiring or trenching.
Do I need an electrician to install an All-In-One Solar Street Light?
Generally, no. All-In-One units are designed for easy DIY installation. As long as you follow the manufacturer’s guide and safety precautions, a person with basic tools and some experience in light installations can handle it. However, if your installation involves very high poles or uncertain ground conditions, you may want professional help.
How long do solar street lights last?
The LED lamp can last over 50,000 hours, which translates to more than 10 years of typical nighttime use. The lithium battery, a key component, usually needs replacement after 3 to 5 years, depending on your climate and usage patterns. The solar panel itself can last up to 20 years with proper care.
Will the light work during cloudy or rainy days?
Yes. A well-designed All-In-One Solar Street Light includes a battery that stores excess energy on sunny days. Most systems offer 2–3 days of backup operation, allowing the light to function through consecutive cloudy or rainy days. For regions with long overcast periods, selecting a unit with higher battery capacity is recommended.
Can I install a solar street light anywhere?
Technically, yes—but the light’s performance depends on proper placement. It must be installed in a location with sufficient direct sunlight throughout the day. Avoid areas with heavy shading from trees or buildings. Also ensure the ground or mounting surface is stable enough to hold the fixture securely. Follow local codes and safety regulations as well.
What happens if the light doesn’t turn on after installation?
Start by checking the power switch or activation tab—some models ship in ‘OFF’ mode. Then, make sure the battery is connected and the panel is not obstructed. You can simulate night by covering the solar panel to trigger the light. If it still doesn’t work, consult the troubleshooting section of your manual or contact the manufacturer.
How do I maintain the solar street light long-term?
Regularly clean the solar panel to remove dust, leaves, or bird droppings. Check that tree branches haven’t started shading the panel. Every few months, inspect the bolts and bracket to ensure everything remains tight. Battery replacement every few years will also keep your system working reliably.